This week I made a kaleidoscope! Now, I did not come up with the design for this. I followed directions to make it, so it might be cheating? I'm not sure. But I've always wanted to make one. I've only seen kits to make kaleidoscopes and they usually have some fancy pieces in them. Thus, I always assumed I'd need a kit to make one, but I found a design that I could do with the materials on hand. Sweet! I tried to take pictures of the designs inside the kaleidoscope and only had marginal success.

The Process:
The most important aspect of a kaleidoscope is the mirrors on its inside. I cut out three mirror rectangles and made them into a "tube".
 |
| Yes, the tube is held together with tape. |
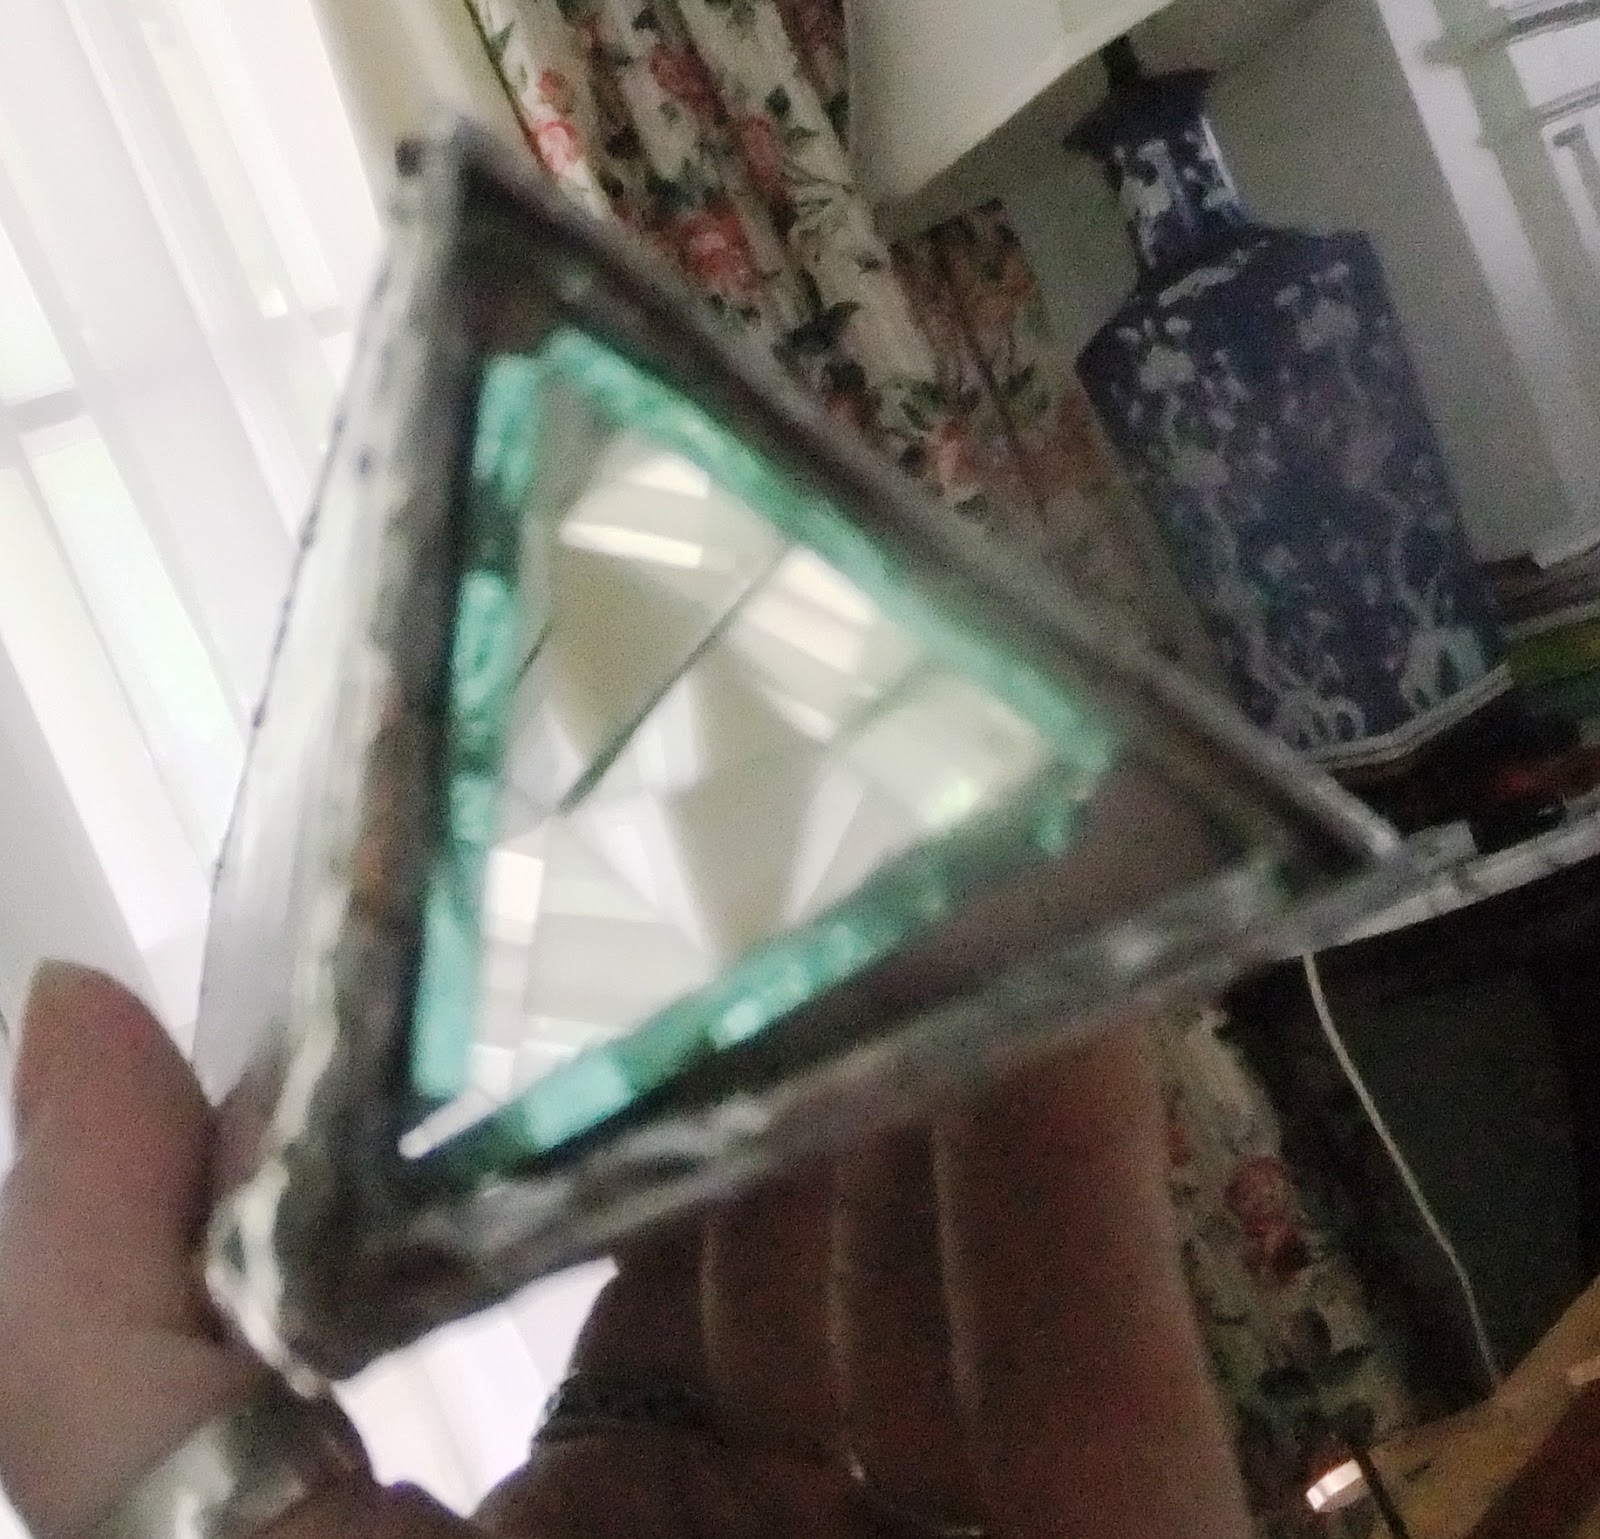
As you can see, the light bounces around the tube and creates many copies of whatever is at the bottom of the tube. So that's where the geometric pattern comes from.

Besides the mirrors, the other main parts of the Kaleidoscope are the outer-casing for the mirrors and the end chamber which holds the pretty colored pieces of glass and beads. I cut out the pieces for these two chambers.

Then, I soldered the outer chamber together. I cut out a triangle of clear glass and soldered it so one end of the chamber to act as a cap.

Then, I slid my mirrored tube into its casing and soldered another clear piece of glass onto the open end of the chamber.
 |
| Mirrors! |
Next, I needed to make an eye piece. This is really more for aesthetic purposes so the trick with the mirrors won't be revealed.

I soldered the eye piece into place and the main part of the kaleidoscope was complete!

To make the end chamber, I put together another triangle out of clear glass and capped one end of the chamber. I acid etched one side of this clear glass to make it translucent instead of transparent.

Then, I filled the chamber with glass scraps and beads. For future reference, using translucent items is a good idea. Those big pink beads are not see-through and when you hold the scope up to the light they look like black circles. So that's my warning for any future kaleidoscope makers.

Final Product:


No comments:
Post a Comment